Thursday, March 15, 2012

Saving Money on your Sewer Bill...

My kids are responsible for rinsing and loading the dishwasher every night, alternating turns.  One evening, as my son was doing his job, my husband noticed the water was turned on pretty high.  He stopped my son to talk about conserving water and our water bill, to help him see the wisdom in the water resembling a “trickle” as he scrubbed the dishes before the dishwasher. 
Water Conservation: "The trickle"
This conversation went even further as he explained HOW the sewer bill is calculated in connection to the water bill.  (I love listening to my "math teacher" husband explain the practicality of math!!)

I found myself riveted, as I have wondered for years HOW they calculated that bill.  It was an “Ah-Ha” moment for me.
HOW is your sewer bill calculated?
This notice arrived on our water bill the month after this conversation took place....what great timing, huh?
In the winter, you are NOT in an “extra water consumption” mode….such as watering lawns, gardens, washing your car or house, using slip & slides, filling kiddie pools, or having your kids run through the sprinklers.  In the winter, you are in a “basic water needs” usage time.  So for a certain chunk of time in the winter they are measuring your water usage that comes out of your faucet.   (For showers, cooking, toilet needs, washing hands, and laundry.)  So when winter is done, they have a pretty accurate idea of how much water is actually going down the drain heading off to the sewer!!  The charge of this calculation is reflected on your bill throughout the year.
So those extra long WARM showers that I am inclined to take in the winter, will just end up costing more ALL year long!!  (This information, in the back of my mind, helps keep that “simple pleasure” under control-- beyond the cost of electricity to heat the water!!)

Happy Stretching Pennies….

Wednesday, March 7, 2012

Cheaper Drinks and Food at the Airport...

I married a man who is the youngest of 9 children.  Several years ago, we started a new “tradition”.  Whenever one of my sisters-in-law turn 50 years old we have a 3 day/2 nights “Girl’s Retreat”.  We happen to live far away from the ‘main cluster’ of family….soooo….in order for me to attend, I must FLY to the retreat.

Luckily, the timing of this little “Retreat” is around tax return time in order to assist in the purchasing of a plane ticket.  (This month was the 4th annual party.)  We try and get the least expensive plane ticket within the time frame I can get away…..(though I would imagine most people already do this.)  This is NO exception.  I’ve gone the roundabout way and have a silly layover in an illogical place instead of a direct flight.
As I sit in the airport, I am flabbergasted at the prices of things.  I saw a small breakfast menu item at a café that cost as much as any nice sit-down restaurant!   Drink prices also dumbfounded me.  They do NOT need to be double/triple the price of a vending machine!  It’s like they KNOW you are “trapped” and at the mercy of their prices!  I’m here to say you are NOT!  Food and drinks while flying do NOT need to break the bank.  In fact, a simple “meal” can be done for less than $1 WITH a little planning.
Drinks are the easiest to solve.  No.  I am not suggesting that you only drink from the drinking fountain!!  I remember the 1st time I flew after 9/11.  I brought a *new* plastic water bottle with me.  I wasn’t familiar with the new security measures.  I had to either throw it away or drink it.  Well…as you can guess: I drank it.  When we finally reached altitude and the seat belt sign came off, I was the 1st in line for the bathroom!!  I have since learned to bring an EMPTY water bottle with me. 
After I make it past security, I fill it up at the nearest drinking fountain—then drink when I feel like it.  (Who wants to pay $2-$3 for only ONE water bottle????  That’s insanity!)  Drinking only water can get really old.  The one water bottle can be a solve-all.  Think of it as your TOOL to a variety of drinks.  A little forethought goes a long way. 
 
I bring a handful of my favorite ‘single serving flavors’ from my local grocery store….OR from my local dollar store.  (Most times you will pay more for these type items at the grocery store…so usually I opt for the dollar store.) 
This way no matter what you’re drinking, it is 10 cents or less!!
Meals are a bit trickier.  I’m not a miracle worker.  I can’t produce a ”fresh” home cooked meal in an airport.  But… I can suggest a way to keep your belly satisfied for under a dollar until you get to your destination.  What’s something you can easily get in the airport for FREE?  HOT WATER!!  Any little café or little restaurant has a coffee pot filled with hot water or has a hot water spicket. 
The red handle is the hot water spicket at the cafe inside the airport I asked to use.
Consider packing along a “Cup o’ Noodles”.
   When you are hungry, bring it to a little café and ask them to fill it up with hot water.  They will gladly do it.  Then go find yourself a seat.  By the time you sit down, your soup will be ready to eat!! 
Think about it….it already comes with a “bowl” or “cup” and finding a plastic utensil isn’t too hard.  Ask for one at the café you just got the hot water from!  Wala…dinner for under $1 at the airport!
Ponder this idea and let me know if you can think of any other “Add Hot Water” meals to my list….

Happy Stretching Pennies….

Update February 2013: I attended another Girl's retreat...and this time I learned that you can enjoy a cup of noodles while in the air!! 
I just asked the stewardess if she would fill it up with hot water....and I enjoyed a nice easy dinner while on a flight!!

Thursday, February 16, 2012

Vacation Planning on a LOW Budget!

We have been planning our family vacation.  Money seems to always be in short supply, but this school  year it seems particularly tight.  (We’ve had one surgery, one car repair, and replaced one washing machine….all while my husband’s school district hasn’t decided what the teacher’s salary will be for THIS year….and this year is more than half over!  Yes.  If they decide to cut our pay, we will have to “give them back money”.  Yikes.)

Anyway…family vacations are important to us.  We aren’t going to let a lack of funds deter us from have a lot of fun as a family!!
HOW do you select a vacation that is budget friendly? 

1.       The 1st thing you should think of is: WHERE?  I would recommend looking around at unique locations within 2-4 hours of driving distance from your home.  This will greatly aid in keeping costs down.  Do you have National Parks or State Parks in the area?  Museums?  Concerts?  Pageants?  Summer Festivals?  You can incorporate ALL of these into your summer vacations!  I have done a couple of posts on this.  Check them out!
2.       The 2nd things you should think of is: HOW MUCH TIME AWAY?  The shorter the vacation, the cheaper it is.  Try keeping your vacations to 2-3 nights away from home.  You might be surprised to see how much you can pack in such a short time!  OR…you might be surprised to find out how many vacations you can have in one summer when they are shorter.  (Try several short vacations instead of one long one!)

The cheapest way to vacation is to camp.  However, I realize there are LOTS of people out there who are NOT campers.  This does NOT mean you are doomed to expensive vacations!!  Check rest stops and trucker gas stations to find coupons for motel/hotels.  Usually Monday-Thursdays are the best rates.   Check for deals online.  Even better, contact the university near your vacation location and see if they are renting out their empty dorm rooms and arrange for your family to have accommodations on campus!!  (I can’t think of a better way to promote going to college to your kids!!)
When you choose a place close to home, you can also “pretend” that your home is a rented “cabin”.  My kids are BIG fan of this.  We tell our friends we are going out of town.  All “normal home business” is STOPPED during the “rental” of our own home.  (We are already paying “rent” for the building…it is NO extra lodging cost on top of our mortgage!)  We turn off all phones, don’t answer doors, arrange to have our mail stopped at the post office (so there won’t be a temptation to take care of business) and we don’t check email!  We do not have chores.  We don’t do laundry.  Remember we are on vacation!  All “normal” home type activities are ceased!  We stay up late and watch movies, we explore our town like tourists- doing things we normal term “too expensive”.   (A great feature is this practice is you have everything you need at your fingertips!!  There is NO forgeting anything!)   My best “example” of how much my kids like this….Once we had to go to the store to get milk during one of these “pretend rentals”.  We ended up running into someone we knew.  My children looked at them and promptly said, “You can’t see us!!  We are on VACATION at our cabin!!  You need to pretend we are NOT here!”  Because our behavior is distinctly different, my children can FEEL when it is “life” and when it is “vacation”.

This year we will be going to a nearby National Park approximately 2 ½ hours away.  We have reservations to camp nearby, therefore keeping costs down.  We will bring plenty of food from home.  We are camping type of family, so we have all the gear to comfortably sleep AND cook gourmet food so the cost should be minimal.  There is plenty to do and see.  Sometimes the most “simple” fun is the most memorable.
Happy Stretching Pennies....
P.S.  Someday I will do a post on the virtues of family camping and how to make it a pleasurable experience.....

Saturday, January 28, 2012

GIFT GIVING without the stress of high prices!

There’s always a reason to celebrate or give someone a gift.   It goes hand-in-hand in associating with people.  There are plenty of occasions that “pop” up!!  (Birthdays, weddings, births, Christmas, funerals, baptisms, other holidays, etc.)

An invitation to a party does NOT have to be a reason to go shopping!  I have applied the Boy Scout motto of “BE PREPARED” to gift giving.  I keep a plastic tote, in my garage, for potential gifts. 
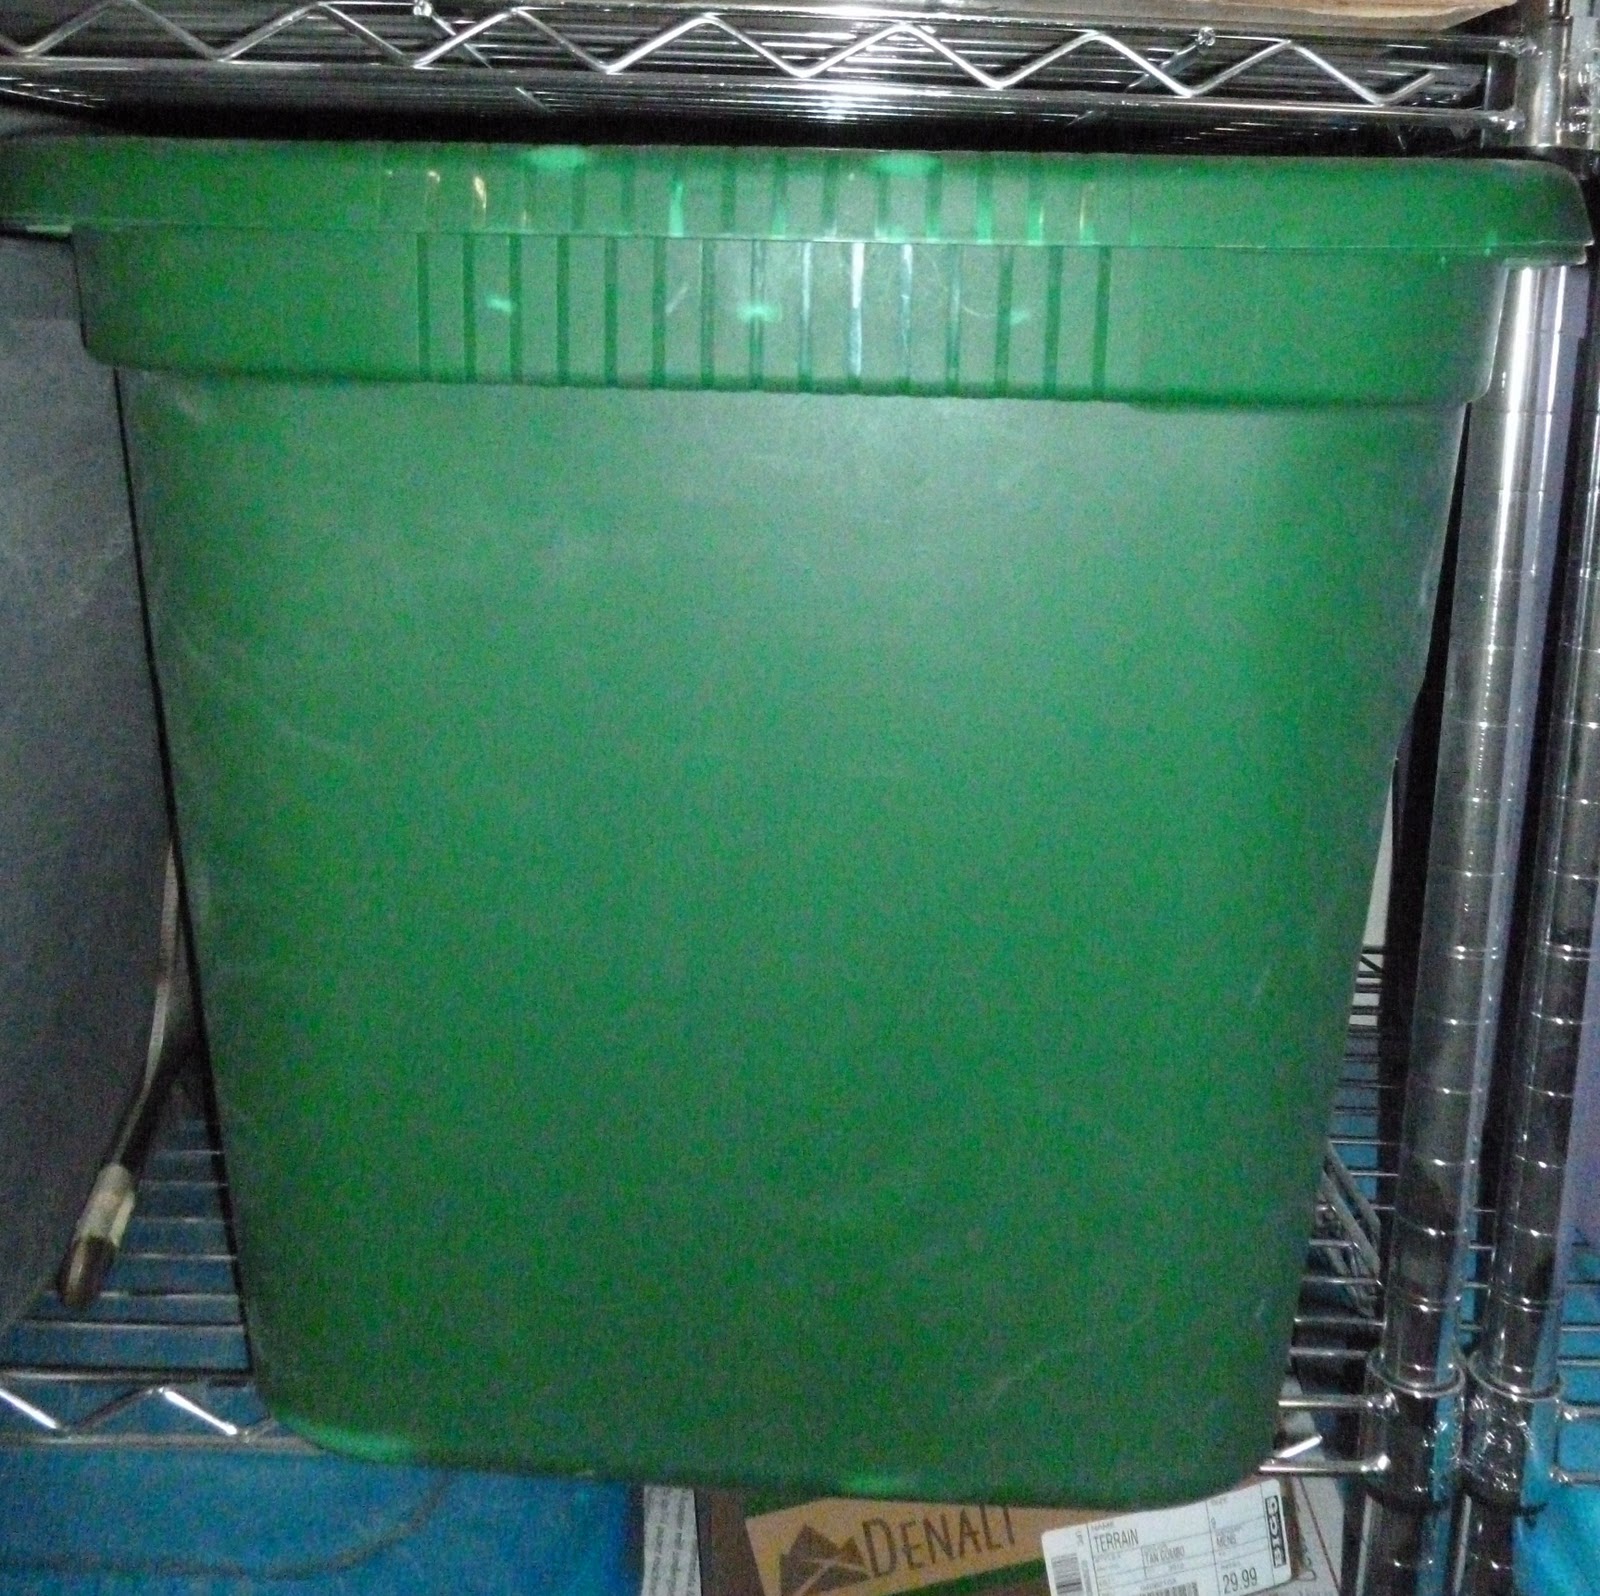
My "GIFT bin"...
Notice it is NOT labeled, because I don't want my kids snooping through it!!
When I am out doing my normal shopping, I am always on the lookout for good prices on ANYTHING.  When I find a cute item at a smashing price- that could be used as a potential gift- I buy it and put it in my “gift bin”.  This means when my children come home with another birthday party invitation, I don’t instantly freak out about where the money will come from to purchase their friend a gift!  I pull out the appropriate possibilities and let my child “shop” through my “smashing deals” and pick out a present to give their friend.
Birthdays and Christmas for my family is rather simple and stress free as well.  I actually have 2 “gift bins”.  One bin is for giving gifts to others…the second bin is for gifts for my family.  I shop year round for my children’s birthday and Christmas presents.  I’m always on the lookout for sale or clearance items that could be used for my children.  After a holiday is over is a great time to pick up the next year’s item.  I’ve learned that certain holidays provide certain types of potential presents. 
·         Valentine’s Clearance: girl’s trinkets, girl’s clothes, next year’s class Valentine’s, movie candy, baby clothes, and wedding items (as everything is LOVE themed).

·         Easter Clearance: Girl’s trinkets and clothes

·         Halloween Clearance: Boy’s trinkets and clothes, boy’s baby clothes, and dress ups.

·         Christmas Clearance:  NEXT year’s presents (mainly for the grown-ups), decorations, household type wedding presents (ie. Extension cords), Christmas crafts for the kids to make for grandparents, and wrapping supplies for the entire year.
The month before the family “event”, I open up my “family gift bin” and select what I’d like to give that person.  Usually, I already have purchased what I need at a great price….BUT if I am short what I need to give them; I have a month to find the needed item at a good price.
IF you shop A LOT, you have the potential to find a lot of great deals….BUT that means you have the potential to spend a lot more than you need to!!  My rule of thumb is to ONLY have one bin of each: OTHERS & FAMILY!  When that bin is full, it is time to WAIT to buy more “gifts” until you have given enough away to provide the room to store them.  This way you never have one gift sitting on the bottom of your bin for years without ever finding a recipient for it!!
On a side note: if you are attempting to scale back your gift giving expenses even more.... a thoughtful, well made, handmade item can be much less expensive AND more meaningful to the recipient.  Don’t rule them out!
Happy Stretching Pennies…

Saturday, January 14, 2012

Making your own REUSABLE furnace filter!

Changing your air filter to your furnace does not need to cost a lot.  In fact, it couldn’t be simpler.  Consider making “reusable” one!!  It is more eco-friendly, time efficient AND friendly to your budget. 

We learned about this when it was time to replace our furnace filter in our *new* home.  Not one store carried the size we needed!!  (And I thought there were standard sizes!!)  Turns out, you can make your OWN furnace filter out of this blue stuff called "Natural Aire".    
This is sold at hardware store likes Lowe's or Home Depot.  
When I was revisiting Lowe's to write this entry, the cost for a one-time-use furnace filter ranges from $3-$15....if you replace your furnace filter like you are supposed to do, the cost adds up (while your energy bill goes down.)  Why not equal the playing field and only buy the filter ONCE and enjoy the energy savings without having to monthly purchase a new furnace filter!! (Or actually CHANGE it once a month instead of "getting your money's worth out of it".)
The PRICE of one of these blue things at Lowe's....found on the furnace filter isle!
We made 2 out of the material so we could have one “in use” and "to replace the dirty one" as soon as it came out (NO waiting for it to dry).
The Homemade Furnace Filter Recipe:
1)      Measure the area of your furnace filter space.  Double the dimensions so you can buy enough to make 2.
2)      Purchase  this Blue filter stuff from your local hardware store (such as Lowe’s or Home Depot).  It can be found on the furnace filter isle.
3)      Cut out 2 furnace filters.  You could just take a black sharpie and trace your OLD filter on the blue filter stuff and cut it out.....BUT if you are a perfectionist like me,  It is easiest to make it “square” by using a tool called a "Carpenter's Square" (resembling a “T”) OR using quilting board, squaring device and marker.
This is a carpenter's square
After pondering using quilting supplies, please omit using the rotary cutter as it will ruin your blade.  Use these squaring supplies to DRAW the line and then cut with scissors instead of ruining your rotary blade!
This is our READY made reusable furnace filter!
4)      Insert one filter into your space and store the other one.  (We keep ours on top of the water heater.)
This is our dirty one coming out...
This is the *new* CLEAN one put in...
Our finished product...doesn't look any different, does it?
5)      Change your furnace filter every month for best results.  To change them:  Remove the dirty one and insert the nice clean dry #2.  Bring the dirty one to the bathroom and spray it off with the shower head.  Let it dry and store it until you need to replace it next month! 
Wala!  An EASY reusable furnace filter that costs you little in time and money!

Wednesday, January 4, 2012

Using 2 forks can make your roast beef go FARTHER than you thought POSSIBLE!

Stretching your roast beef couldn’t be simpler!  Whether you are cooking your roast in a crock pot, oven, pressure cooker, OR getting it straight out of a can this technique goes a long way.
Consider shredding your meat instead of slicing or "cubing" it!! 
Here is an example of a "crazy BUSY day's dinner"-- our burritos one evening: 

I took a 12 oz. can of roast beef (purchased from Costco) to make the meat for Tacos for our family of 5.

This is what 12 oz. looks like IN the can...
This is what 12 oz. looks like OUT of the can...
This is what the meat from the can looks like UP CLOSE...
Start shredding the meat by pulling it apart with 2 forks...
Keep going through all of the chunks & watch the plate fill up with MEAT!!
My 10 year old son enjoyed taking these pictures as I shredded...and then asked if he could have some!!
The END result of SHREDDING all that meat....

Remember this is what looked like
BEFORE it was shredded...

After shredding it, I put into the marinade and I cooked it on the stove top. 
We then enjoyed burritos with shredded meat, beans, and toppings.  (Each of our family prefers different toppings....but olives, onions, tomatoes, lettuce, sour cream, green peppers are all options.)

It is amazing how far 12 oz. of meat will go. In fact, we had leftovers for someone to have a delicious lunch.  One can of meat for a family of 5 WITH leftovers!  Can't get better than that!  (Had we left the meat as “chunks”, I would have had to open several cans in order for my family to feel like they had had a sufficient amount!!)
Happy Stretching Pennies…
PS.  This technique can be easily used with chicken breasts, pork roasts or turkey breasts as well!

Monday, January 2, 2012

Cheaper and EASY Pancake Mix

I love making pancakes in the morning for breakfast.  We REGULARLY have them....(avoiding the expensive cereal)!!  However, I don’t  like how many things I have to pull out and how many dirty dishes I make-- in order to have them from “scratch”.  It takes too long when mornings are usually rushed during the week.  I used to use the boxed kind from the grocery store for days that I didn’t have a lot of time.

Several years ago, I went on a hunt to find a recipe for a just-add-water “MIX” so I didn’t have to assemble so much.  I figured that the stores SELL mixes…so why couldn’t I MAKE one for a fraction of the cost?
I taped the Dry Mix recipe to the Tupperware, so I would never have to go searching for the recipe when it was time to refill!  (It's all about saving TIME!)
If you have ever eaten a premade just-add-water mix from the store, you have probably already tried a product you didn’t even know existed: powdered eggs.  I buy them from Honeyville Grain www.honeyvillegrain.com  (I have mentioned them before.)  I love their company for many reasons, but my favorite is a flat shipping rate of $4.49 in the continental US.  Dehydrated eggs are found in these just-add-water mixes of all kinds.  I know it sounds a little weird…but if you start thinking of all the things in the grocery store that contain powdered eggs, you might not find it so “weird”.  This also goes for the other potentially “weird” product: Dehydrated shortening.
What do these "weird" products LOOK like?
Dehydrated EGGS

This is what dehydrated EGGS look like!!
Dehydrated Shortening
This is what Dehydrated Shortening LOOKS like!
Pancake Dry Mix Recipe
This is what the "Pancake Dry Mix" LOOKS like (made with white wheat flour)!
6 C. Flour (I grind white wheat into flour)
9 Tbsp. Dehydrated Shortening
9 Tbsp. Powdered Milk
9 Tbsp. Brown Sugar
6 Tbsp. Dehydrated Whole Egg
2 Tbsp. Baking powder
3/4 tsp. salt
Directions: Take out as much "mix" as you would normally make from a box and add water until it is the consistency you desire for fluffy YUMMY pancakes!  (We usually do about 3 cups of mix and 2 cups water.)
Happy Stretching Pennies...AND cheaper...fluffy yummy breakfasts!